


")
Sponge painting is a simple, effective technique to add dimension, and texture to otherwise dull interior walls.
Sponge painting is an example of faux painting – a decorative technique used to make a finish mimic another material, like granite, fabric or wood. For this article, we’re focusing on applying it to walls, but it can also be applied to ceilings as well as furniture and apertures.
There’s a lot of ways to inject your interior walls with dramatic flair, you can add a wallpaper, decorate with tiles, or – if you walls are made of limestone – leave it exposed and finish with varnish for a traditional look; however, all of these methods can get a little costly (especially if you want a good result that lasts beyond the first year).
Comparatively, sponge painting is an inexpensive way to add charm to your interiors.
First up, take a look at some examples of a faux finish created with a sponge
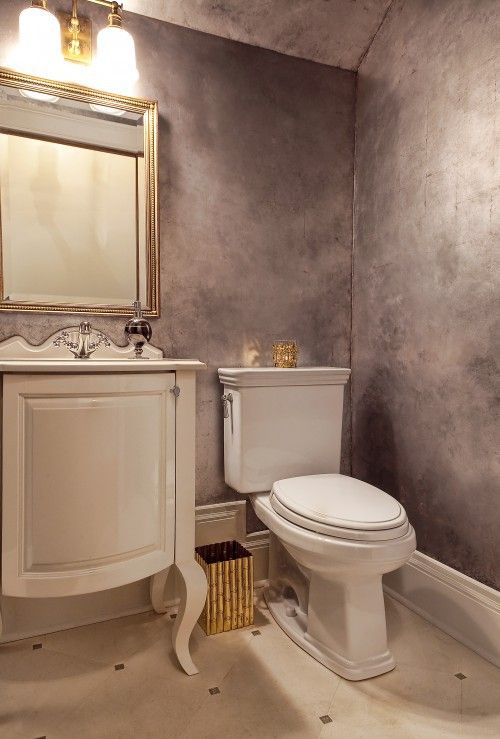

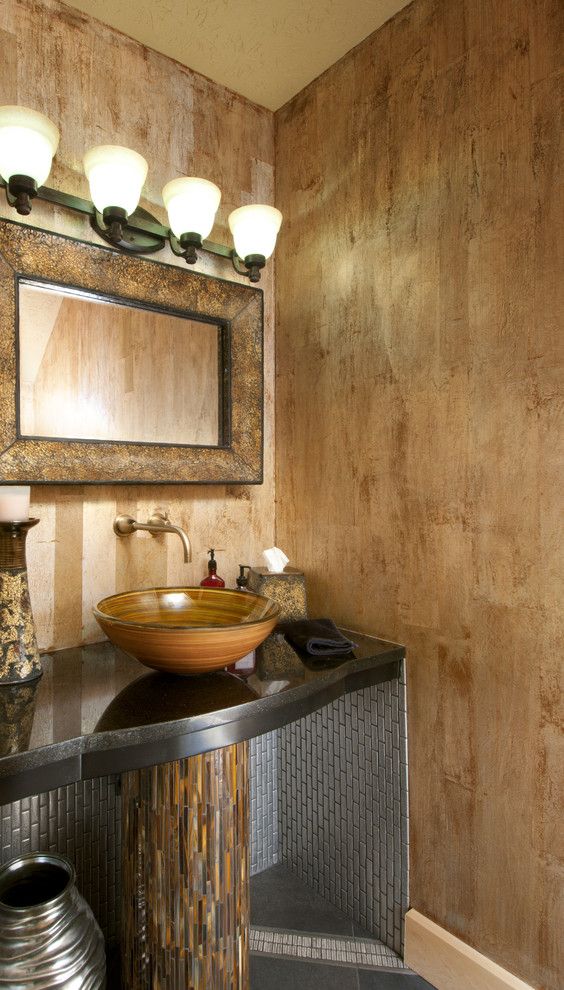
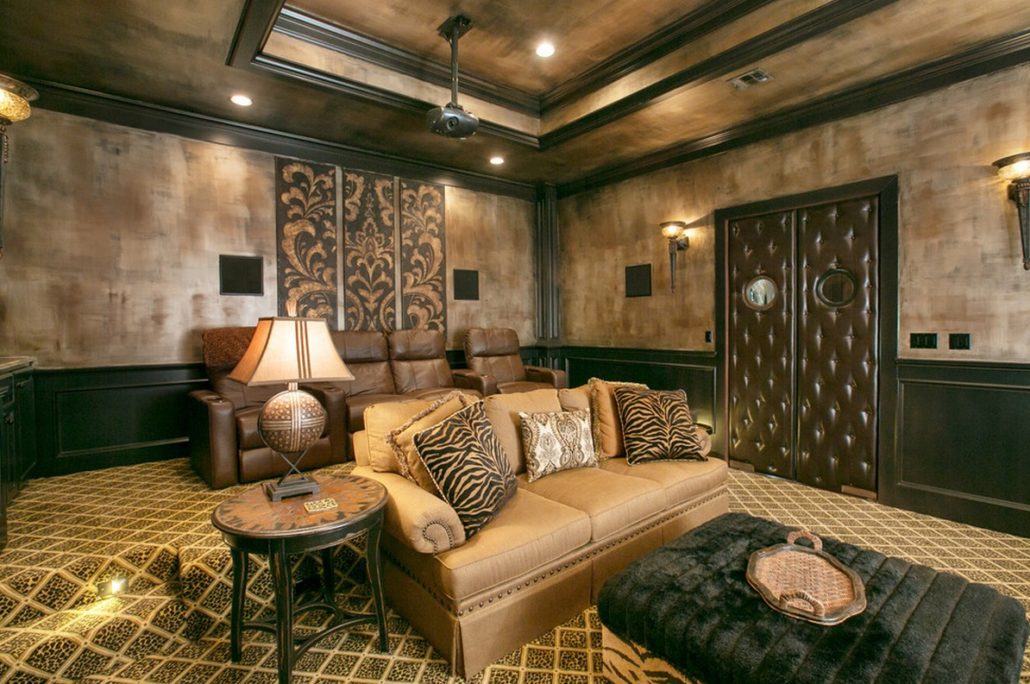
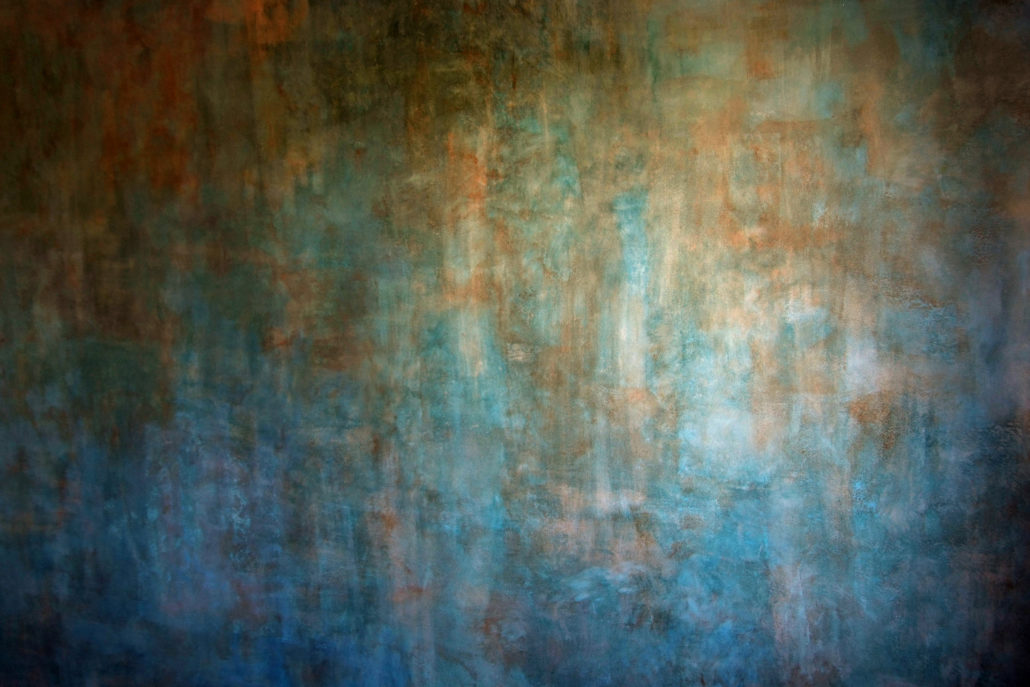
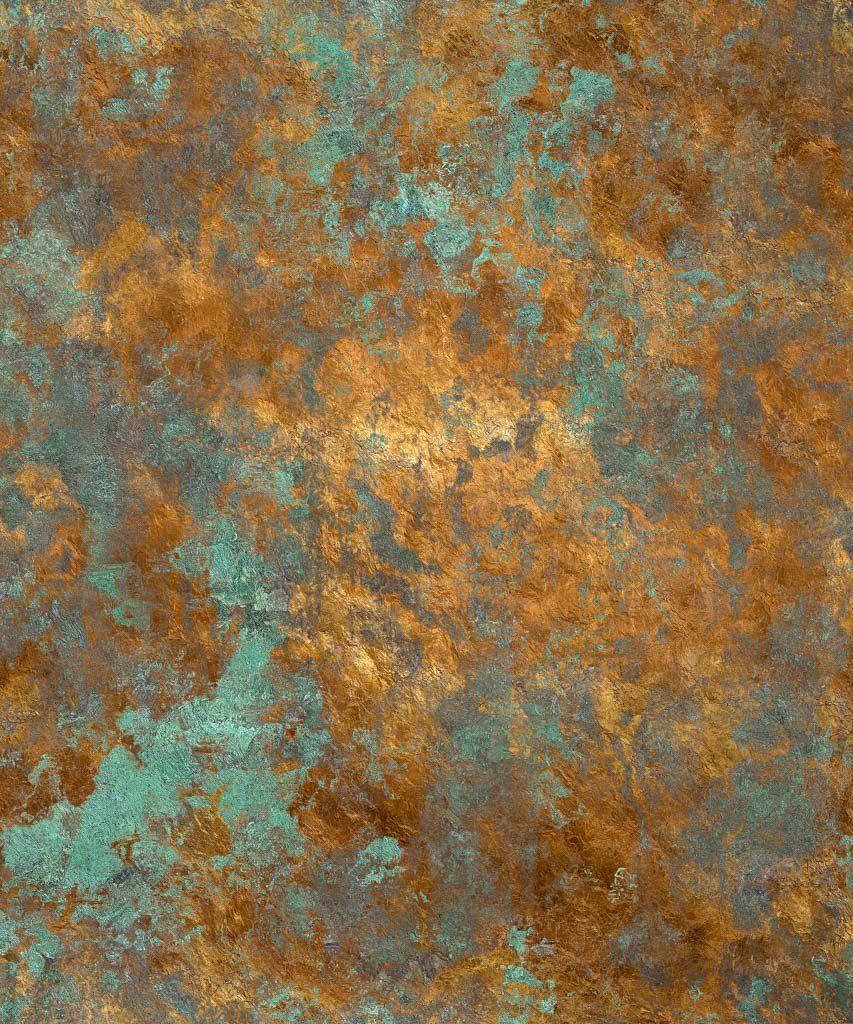

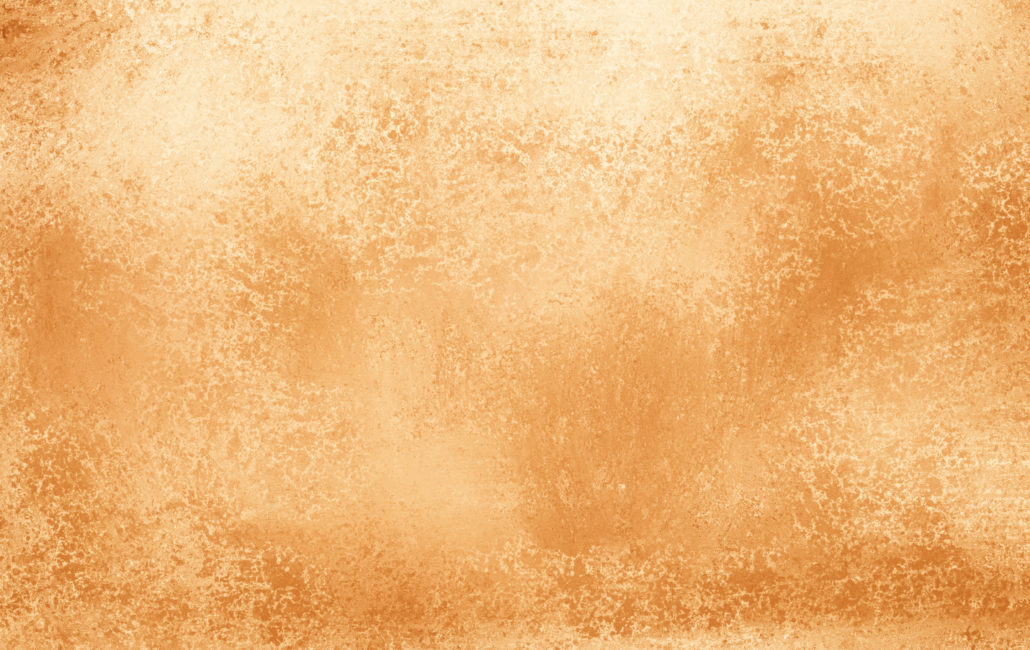

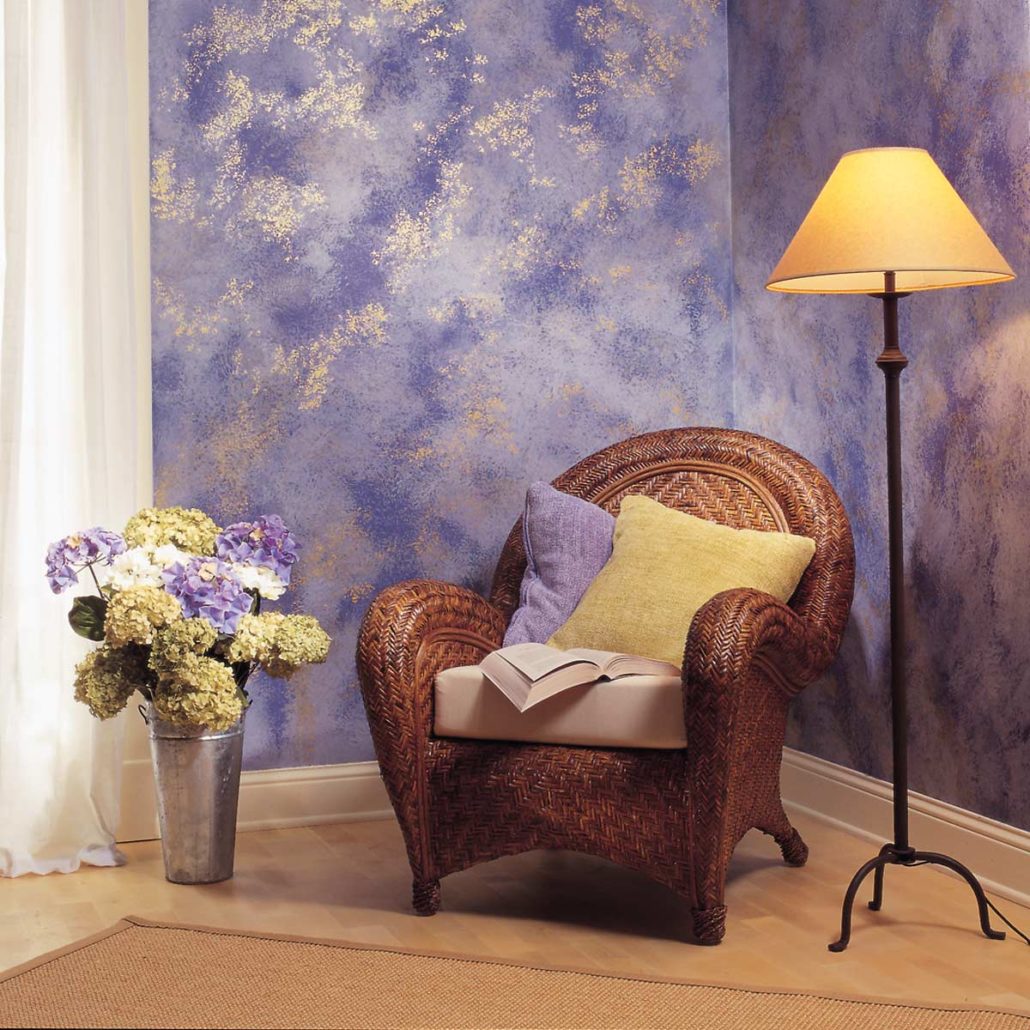
Step 1 – Acquire your tools and decide on the paints
Here’s what you’ll need:
- Drop cloth
- Painter’s tape
- Basecoat of paint (for background)
- Secondary and tertiary paints (for sponging)
- Paint tray
- Paint roller (3/8-inch nap)
- Faux glaze + extender
- Natural sea sponge
- Small brush
- Trowel (8 to 10 inches wide)
- Glaze squeegee
Your key components to this equation are the natural sea sponge with which you will create the effect, the faux glaze (which you’ll combine with the paints you’ll be applying with the sponge), and the paints themselves. How many paints you choose to sponge on is up to you. You may even decide to sponge on just one color. Generally, using only one or two colors results in a bold, heavily contrasted finish, and using more colors creates a subtle, cloudy effect. You can either go for a combination of paints that are similar or opt for contrasting colours. Ideally, you stick to the same colour (but different shades) for your basecoat and secondary colour.
Tip: Once you pick the ‘secondary’ paint, consider adding a tertiary paint that’s just a shade lighter or darker than the secondary paint. This’ll help add more depth and texture.
Step 2 – Remove, tidy and cover
Remove all furniture, wall hangings and electrical outlet coverings. Cover the floor near the work area with a drop cloth. Apply painter’s tape to any area where you don’t want the paint to be applied, such as baseboards, ceiling molding, or the window frame.
Step 3 – Apply your base coat
Pour the base coat of paint into the paint tray and roll it onto the wall’s surface using a 3/8-inch nap roller. Cover the entire area and remove the painter’s tape. Allow the wall to dry overnight.
Apply new painter’s tape to the same areas where you do not want the finish applied.
Step 4 – Prepare your glaze
Mix the secondary and tertiary paints with glaze according to the glaze manufacturer’s instructions; usually, you’ll want a ratio of one part paint with four parts glaze. An extender, which thins the mix and slows drying, is optional. Once mixed, save and label the secondary and tertiary paints.
Tip: You may want to store some extra just in case you need to cover stains or make repairs in the future.
Step 5 – Dip and dab with your sea sponge
Get the sea sponge wet and wring it out so it is slightly damp (a sea sponge is used instead of a normal sponge because the holes are more random and produce a better texture).
Dip the sponge into the glaze so that it is lightly coated in paint. Dab the sponge on a paper towel if there is too much excess paint on the sponge. Begin in an inconspicuous spot, one that will be hidden by furniture, for example.
Keep in mind:
- Change the direction often to create a random pattern
- apply glaze in small, tight areas and corners
- continue to use the same amount of paint
- the same pressure and the same side of the sponge.
Step 6 – Take care of the edges
Dab paint into corners and along the edges of the wall with a paintbrush (2-in. or smaller) or a small piece of sponge torn from the full sponge.
Step 7 – Once the secondary paint you ‘sponged on’ dries, start again with the secondary colour
Apply the second color more sparsely and randomly than the first, leaving areas about twice the size of the sponge untouched by the second color.
Tip: Keep a brush handy to dab up paint in spots where you apply it more heavily than you intended.
Step 8 – Distress (optional)
Scour areas of the wall using water and a synthetic scouring pad. Scouring is easiest if you do it as soon as the paint is dry to the touch.
It also gives you a chance to rub away any drips, blotches or other goofs.
Step 9 – Add a fourth colour
If you’re applying a fourth colour, then you should only do so minimally, in scattered clusters and wandering lines. For the third or fourth colour, you may want to go for a paint that contrasts with the secondary paint and base colour.
This is a video we found on Youtube that does a good job demonstrating sponge painting.
Featured instagram user for this article:
More about Faux finishes
Faux finishing has been used for millennia, from cave painting to the tombs of ancient Egypt, but what we generally think of as faux finishing in the decorative arts began with plaster and stucco finishes in Mesopotamia over 5,000 years ago. Faux painting may sound like a relatively modern decorating trend, but its application dates back to Mesopotamia. Mesopotamians imitated plaster and stucco finishes in their buildings. Likewise, Egyptians applied this technique to change the appearance of tombs and cave walls.
Sponge painting is not the only faux painting technique, with color washing, crackling and antiquing just as popular methods of adding texture and drama to interiors.
Know a painter who’s great at faux finishes?
Tag them in a comment or share this article with them!
Have you used a faux finish on a wall in your house?
Leave a comment with a picture or send us a private message, we’d love to feature you!