Furnishing outdoor spaces, be that a tiny backyard or a big rooftop is becoming incredibly popular amongst Maltese homeowners. Investing in your outdoor spaces is an easy way to create a gathering space for the family and friends in your own home, and it’s also a great practice if you want to socialise and enjoy the outside without having to actually go out and fork out money.
On the other hand, furnishing a simple backyard can get mightily expensive if your goal is to buy everything done. If budgeting and cutting down costs is important to you, then we suggest building some of the furniture and surfaces yourself. Although knowing someone who’s handy with tools and carpentry is helpful, the internet is filled with resources and guides that you can follow to build just about anything.
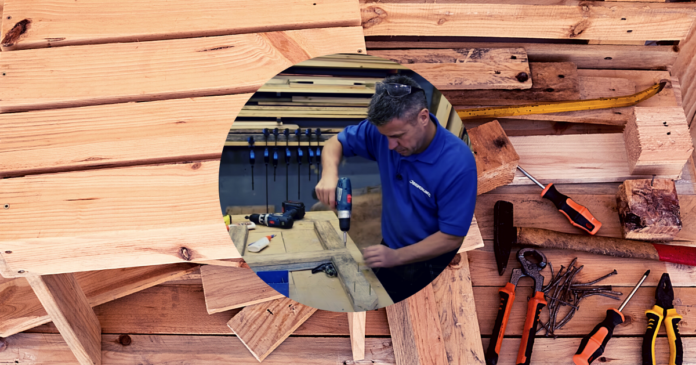
For this article, we’re looking at a step by step guide to building a DIY pallet chair. We’re using this video from DIY expert Craig Phillips for reference.
Step 1: Getting your hands on pallets
- Facebook marketplace
- Maltapark
- Local carpenters, hangers, and industrial yards
Step 2: Get the tools required
- Measuring tape
- Electric or hand saw
- Drills
- Screws
- Clamp
- Set square
- Orbital sander
Step 3: Determine dimensions of your chair
- Sand the pallets you got (you can do this after you finish building your chair)
- Start off with the longest length (the backbone of your chair)
- Cut long beams at 45-degree angles to create a curved, triangular top
- Connect the back with the seated area and the side on which your seated area rests
- You’ll repeat this process twice to create both sides of the chair
- Create a second layer of pallets for each side to build structural strength
- Glue and screw it together! Now, you have the two side sections built up.
Step 4: (04:30) Connect the two sides of the chair
- 04:30 – Cut more pallet slats to bridge across the two sides
- Slats will be fixed across on top of the two side sections.
- If you’re working alone, screw a couple of blocks into your workbench and fix them against your chair for stability.
- Drive nails to secure the wooden slats on top of your chair’s side sections
- Repeat until you cover both the seat and back of the chair
- Thanks to the triangular curve you’ve added onto the back slats in step 3.2, your last slat will rest diagonally, creating a bit of a curved headrest!
Step 5: (13:00) Reinforce the legs
- Connect two joints together by cutting the top of the slats at a 45 degree angle
- Place your first joint between the front and back legs of one side
- Drill second beam at an angle to create apertures for the screws
- Repeat until all four sides are supported
Have you worked with pallets before?
We want to feature more local work, so send us a picture or two via a pm or leave a comment!






![11 Maltese Online stores that deliver furniture, furnishings & home decor [20/08]](https://blog.house.mt/wp-content/uploads/2020/08/1-12-218x150.png)