


")
The key to getting tenants or selling your house is well crafted photos of your interiors. Are you selling your property or renting out an apartment? If you want your place to really pop, we suggest you hire a professional photographer.
Digital marketing is the new marketing, but when it comes to selling a product or attracting attention, it’s just as reliant on eye catching photography as print. It’s fundamental: Architecture firms, real estate agents, restaurants, cafes and hotels must get their interior photography right or risk being lost in the crowd.
Photographers study the craft for a reason, and you will not regret spending a little money once you start getting a much higher number of requests that other tenants or property sellers.
But! Having said this, that shouldn’t stop you from being able to take your own photos, and to take them well.
Read through our brief guide to taking photographs like a pro, and upload your photos on #housemalta. We’ll be watching!
1. Stand in the corner
Get the flashbacks of your teacher out of your head, this one is not a punishment.
Taking a shot from a corner will give you the widest perspective of the interior before you, allowing you to capture more of what makes it special.
Test out all of the corners of a room to see which angle gives the better shot. Some interior design photographers press their camera against the wall to get as wide an angle as possible.
2. Switch off the lights!
The camera – any camera – is stupid next to the human eye. Our eyes are much better at adjusting to different light temperatures, cameras aren’t. This is where Malta’s sunny weather comes in handy: open windows and apertures to let as much natural lights in as possible.
Avoid times of day when sun is shining directly into your room—this will keep certain areas from being brighter or more blown out than others. Cloudy days are actually better for photography, and keep in mind the photography ‘golden hours’ – early in the morning or late in the afternoon.
Switching off the lights is advised when there’s enough light in, but we alse suggest that you experiment by lighting up different areas of a room. Avoid using the flash as much as possible – use the light that is available to you in the room – lamps, overhead lighting, fireplaces.
Go the extra mile: If the light’s not strong enough, but you want to stick to natural light, slow down the shutter speed of your camera to take in more light. We would advise you prop it up on a fixed item, like a tripod, to avoid motion blur.
3. Take charge of the space
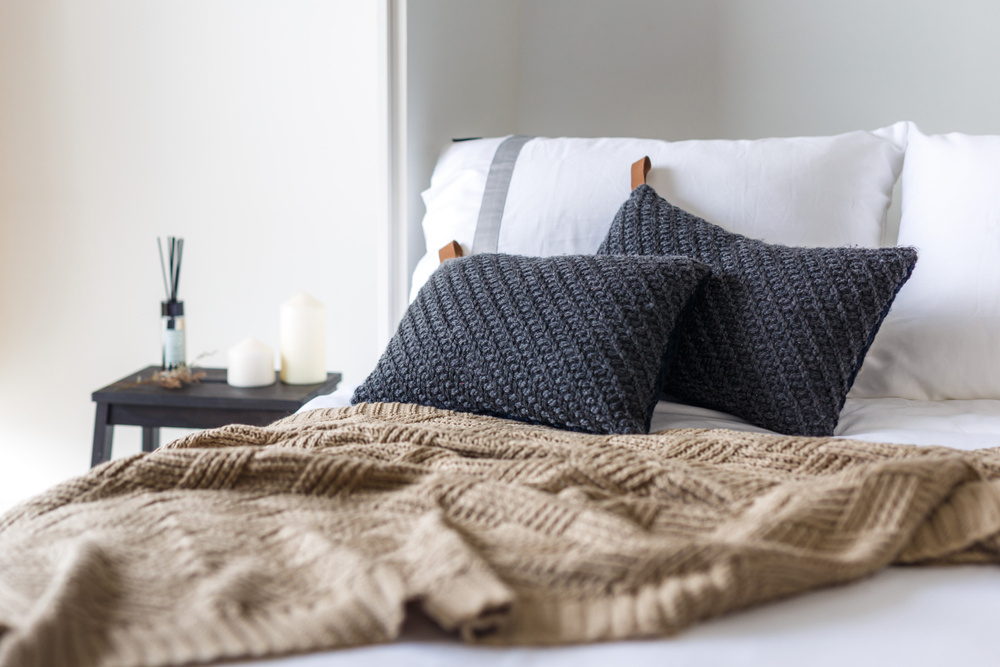
Carefully placed cushions, a stack of newspapers, or an interesting fixture all can contribute to creating an atmosphere in your room that personifies who you are, and what your home is about.
On the other hand, one of the biggest obstacles you can encounter is not having enough space to take a good picture. When shooting indoors, especially within tiny apartments or smaller rooms like kitchens and bathrooms, you might find yourself cornered (and not in the right way).
Is it making the photo look cramped? Move that credenza! If there’s a part of the chair finding its way into your frame, move it out of the way! If you need to add more of the room in your frame, then by all means—open the door and shoot from outside of the room!
4. Get things straight
If you’re not very experienced with taking photos, when it comes to composing interior photos, it is always best to shoot straight on. Using your room’s architectural framework as a guide, point your camera so that it aligns perfectly with one of your walls. If your camera has a grid or compositional guides in the, this is a perfect moment to use that tool. You want to make it so that the wall’s horizontal and vertical lines (along with the horizontal and vertical elements of items along that wall) are aligned, almost as if on a grid, within your phone’s or camera’s frame.
To turn the grid on:
- iPhone: Go to “Settings,” choose “Photos & Camera,” and switch “Grid” on.
- Android: Launch the camera app, go to “Settings,” scroll down and switch the “grid lines” option to “on.”
5. Find your subject
And focus on it. Give the piece of furniture or decor that really ties your room together the attention it deserves.
Add “Negative space” – which simply refers to the empty areas around and between the subjects of an image.
When you include a lot of empty space in a photo, your subject will stand out more and evoke a stronger reaction from your viewer. And what does negative space looks like? In your house, it is often a large expanse of the wall, a view of the outside, or a curtain.
6. Don’t be afraid of editing
It’s important to start with a great photo, but the right touch ups can really inject life into a photo. If you’re uploading a photo on Instagram, you can use its customisation tools to make your photo pop. We suggest that you steer clear of filters, and instead opt for basic editing. Rotate your photo to make sure the lines align perfectly, crop edges or corners out of your frame to clean up the image, or add structure to really make the details pop.
Want to put our tips to the test? Take a photo of your interiors, upload it on instagram, and use the hashtag #housemalta or add @house_malta in your caption.


